[JAVA] 이미지 리사이징, 썸네일
이미지 리사이징, 썸네일 (Resizing, Thumbnail)
이미지를 리사이징하거나 썸네일화해야할 경우가 종종 있다.
이 때 사용할 수 있는 라이브러리를 몇 개 공부해봤다.
1. Graphic2D
graphic2D는 직접 2d 그래픽을 그릴 수 있는 라이브러리이다.
이미지를 불러와서 더 작은 크기로 다시 그리는 것 같다.
코드
public void graphic2d(String path, String fileName) {
        File originFile = new File(path + fileName);    // 원본 파일
        File thumbnailFile = new File(path, "thumbnail_of_" + fileName);    // 섬네일 파일

        try {
            BufferedImage originImage = ImageIO.read(originFile);

            double ratio = 3; // 축소 비율
            int width = (int) (originImage.getWidth() / ratio);
            int height = (int) (originImage.getHeight() / ratio);

            BufferedImage thumbnailImage = new BufferedImage(width, height, BufferedImage.TYPE_3BYTE_BGR);

            Graphics2D graphic = thumbnailImage.createGraphics();

            graphic.drawImage(originImage, 0, 0, width, height, null);

            ImageIO.write(thumbnailImage, "png", thumbnailFile);

            graphic.dispose();	// 메모리 해제
        } catch (Exception e) {
            e.printStackTrace();
        }
    }
비율을 설정하지 않고 width, height 을 고정값으로 넣게되면 비율이 변경되어버린다.
작업을 마친 후 dispose()함수를 통해 사용 중인 메모리를 해제해 주는 것이 좋다.
(안해줘도 garbage collector가 처리해주긴한다.)
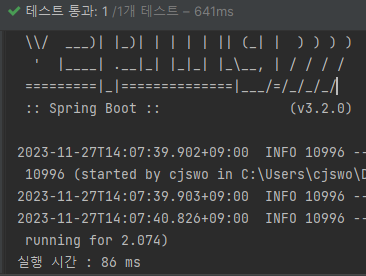
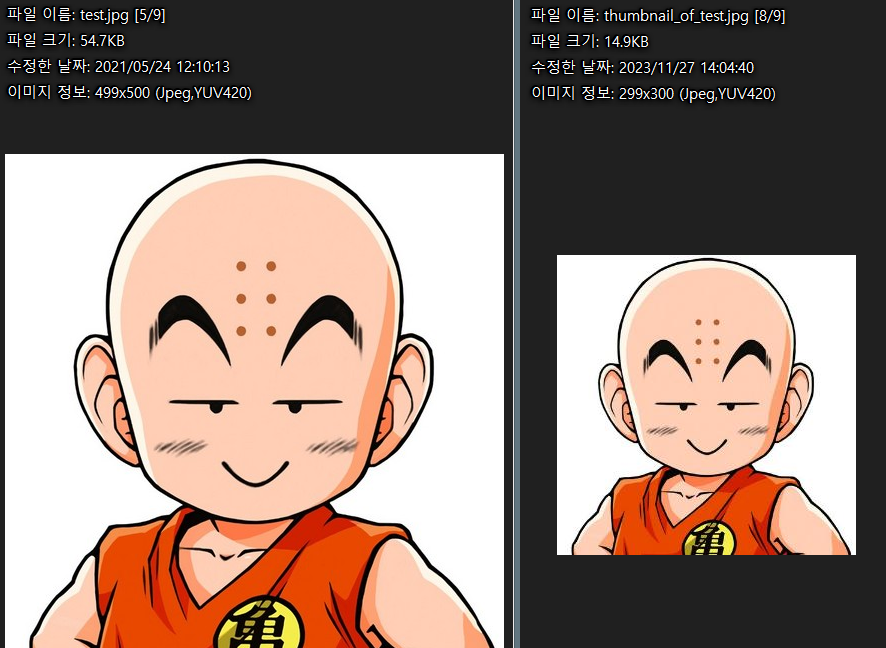
테스트
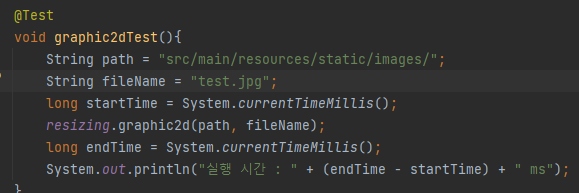
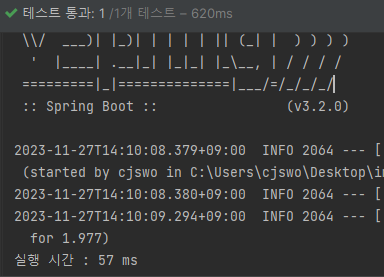
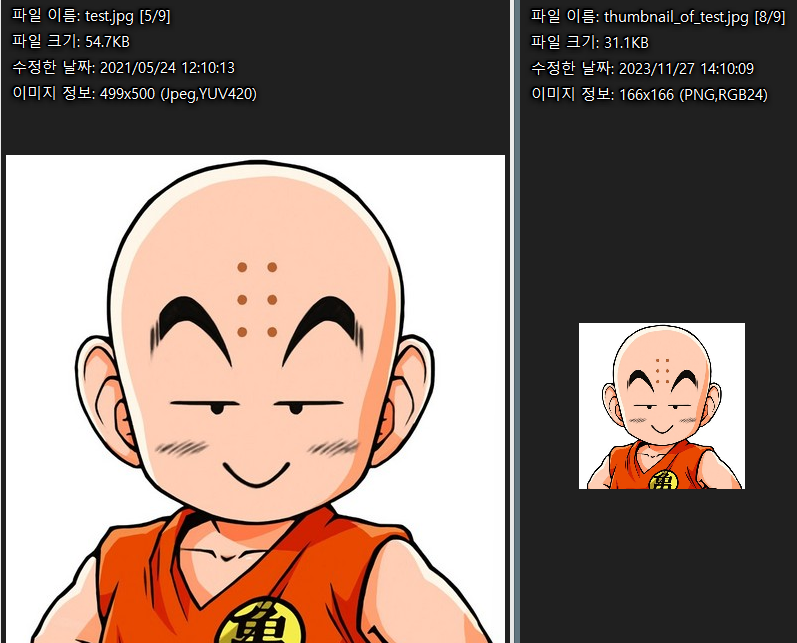
결과
2. 화질 개선 getScaledInstance()
Image 클래스의 getScaledInstance메서드를 함께 사용하면
이미지 리사이징 시 속도를 중요시할지 화질을 중요시할지 선택할 수 있다.
public void scaledInstance(String path, String fileName) {
        File originFile = new File(path + fileName);    // 원본 파일
        File thumbnailFile = new File(path, "thumbnail_of_" + fileName);    // 섬네일 파일

        try {
            BufferedImage originImage = ImageIO.read(originFile);

            double ratio = 3;
            int width = (int) (originImage.getWidth() / ratio);
            int height = (int) (originImage.getHeight() / ratio);

            // 이부분 추가
            Image resizeImage = originImage.getScaledInstance(width, height, Image.SCALE_SMOOTH);

            BufferedImage thumbnailImage = new BufferedImage(width, height, BufferedImage.TYPE_3BYTE_BGR);

            Graphics2D graphic = thumbnailImage.createGraphics();

            graphic.drawImage(resizeImage, 0, 0, width, height, null);

            ImageIO.write(thumbnailImage, "png", thumbnailFile);

            graphic.dispose();
        } catch (Exception e) {
            e.printStackTrace();
        }
    }
| Image.SCALE_AREA_AVERAGING | 이미지 리사이징 평균 알고리즘 사용 |
| Image.SCALE_DEFAULT | 이미지 리사이징 기본 알고리즘 사용 |
| Image.SCALE_FAST | 이미지 부드러움보다 리사이징 속도에 초점 |
| Image.SCALE_REPLICATE | ReplicateScaleFilter 클래스에 포함된 이미지 크기 조절 알고리즘 사용 |
| Image.SCALE_SMOOTH | 리사이징 속도보다 이미지 부드러움에 초점 |
3. Thumbnailator
https://github.com/coobird/thumbnailator
GitHub - coobird/thumbnailator: Thumbnailator - a thumbnail generation library for Java
Thumbnailator - a thumbnail generation library for Java - GitHub - coobird/thumbnailator: Thumbnailator - a thumbnail generation library for Java
github.com
코드
build.gradle에 추가
dependencies {
	...
	implementation 'net.coobird:thumbnailator:0.4.20'
	...
}
코드 작성
    public void thumbnailator(String path, String fileName) {
        File originFile = new File(path + fileName);    // 원본 파일
        File thumbnailFile = new File(path, "thumbnail_of_" + fileName);    // 섬네일 파일

        try {
            Thumbnails.of(originFile)
                    .size(300, 300) // 크기는 300x300으로 설정 (길이가 더 긴쪽이 300으로 설정되고 비율은 유지된다.)
                    .toFile(thumbnailFile);
        } catch (Exception e) {
            e.printStackTrace();
        }
    }
width, height을 고정값으로 넣어도 비율이 유지 된다.
예를들어 400*600의 이미지를 넣고 300,300을 입력하면
더 긴 600부분에 맞춰서 200*300으로 리사이징 된다.
테스트

결과
Thumbnailator 라이브러리에는 이외에도 워터마크삽입, 회전, 화질조정, 크롭기능 등 여러 기능을 제공한다.